Setup DNS-level ad-blocking on Windows
In this guide you'll learn how to manually insert DNS entries for certain types of known hosts (e.g. ad-servers, trackers, malware websites) and point them to an empty address, so that those requests are blocked on your device. Unlike browser add-ons, DNS-level ad-blocking works on any application or service running on your device, not just your browser.
DNS level content blocking prevents your device from connecting to known domains that will serve you unwanted ads and track you across all different apps and browsers on your device.
DNS or 'Domain Name System' is basically the 'phone book for the internet'. On the internet, all your requests to access websites are routed to IP addresses. Since IP addresses are sets of numbers and hard to remember, we usually address hosts by their much easier to remember host-name (e.g. privacyinternational.org).
As such, and because IP addresses can change, when your computer wants to access a server by its host-name, it asks a DNS server what the IP address for that host-name is at that moment, just like consulting a phone book, so that it can route the request correctly.
In this sense, DNS level content blocking makes use of known lists of unwanted servers - our blocklists - and purposefully give the ‘wrong address’ for domains that are on the blocklist so that your device can’t/won’t connect to those servers when it tries to.
The gold standard of protection is to set up your own pi-hole (and we have a guide on that too). On mobile devices, this is harder and while apps are available, their business models are still developing.
Setup
To setup DNS-level ad-blocking, you may add a list of known ad-servers and trackers to the hosts file and point them to an empty address (0.0.0.0), thus ensuring the requests are blocked. The lists of ad-server and tracker hosts are provided and maintained by the online community, and you can pick several lists to block different types of services (e.g. ads, trackers, fake news, social media, etc.). In this guide, we suggest you use the [MVPS hosts list][1] to block ads and trackers. In this guide, we suggest the MVPS hosts list to block ads and trackers on Windows. (This is because the format of the hosts file on Windows is different from Linux and MacOS.)
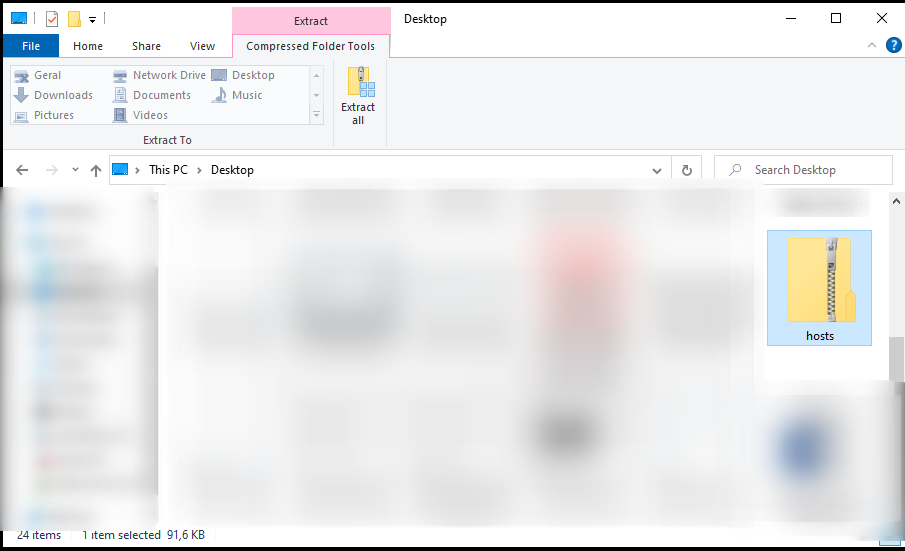
Start by downloading the hosts.zip file from the webpage and open it in an Explorer window. Then, select the downloaded file and click on Extract all (Fig. 1).
After the files are extracted, you might want to check the integrity of the hosts file to avoid any tampering. To do so, open a terminal window and type
CertUtil -hashfile C:\Users\YourUserName\pathToExtractedFile\HOSTS MD5
The output of this command should match the one on the MVPS website (9DC23CE4E0678AECD80CD553F4996A88 on 22/10/2021). If the checksum matches, right-click on the mvps.bat file and select Run as administrator (Fig. 2).

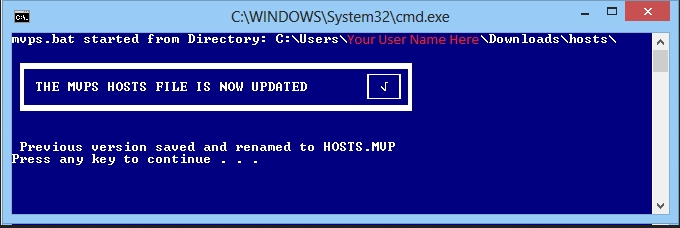
If the installer runs successfully, you should see a message reading The MVPS hosts file is now updated (Fig. 3).
For the changes to have effect, you need to either restart your network service, or reboot the machine. From now on, your operating system will block any request to ad-servers and trackers contained in your hosts file. To keep the hosts file up to date, periodically repeat the steps in this guide. For more information on how to manage your hosts file, check the documentation from MVPS.
Found a mistake? An outdated screenshot? Think this could be improved? Check out our Github repository and contribute to help keep these guides up-to-date and useful!